Substance: Designer/ Painter
Group Exploration
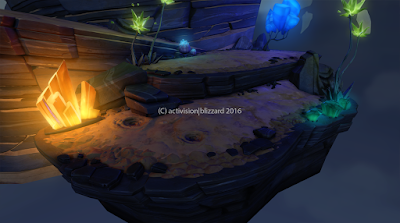
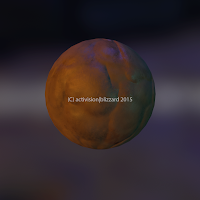
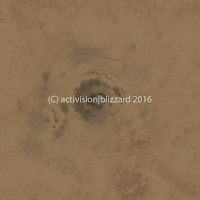
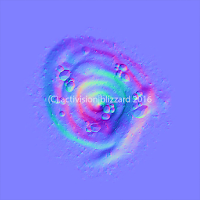
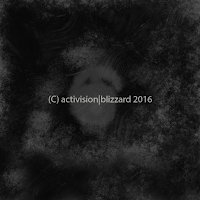
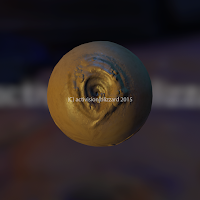
After we shipped Superchargers, our Technical Art Director put a little idea in our heads. What if we were to streamline our texture creation pipeline? What if we sculpted our maps in ZBrush, but then we take the images and use procedural noise maps to create the rest of the materials. At first, we were a little puzzled; how could we create our aesthetic, which consisted of a more painterly feel, in an environment that was about procedural generation. What we quickly discovered was that it was quite easy to do so, if we took the right steps. My art director had a series of images in which he used gouache and painted brush strokes on paper, scanned those and uses them for subtle brush strokes in his concepts. I took some of those images, removed any color information and loaded them (with some tweaking) into the gloss map. We did this with some of the other assets in the scenes below and were able to achieve the look we wanted without it looking like a computer automatically generated the noise in our materials. The following is a collaboration of a couple artists including myself. All of my materials were created using the Substance Designer/ Painter pipeline
 |
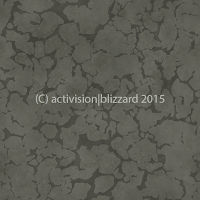
| Albedo |
 |
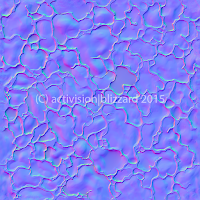
| Normal |
 |
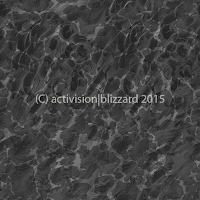
| Gloss |
 |
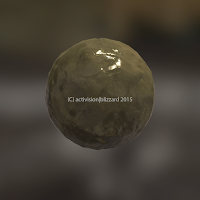
| Render |
 |
| Albedo |
 |
| Normal |
 |
| Gloss |
 |
| Render |
 |
| Albedo |
 |
| Normal |
 |
| Gloss |
 |
| Render |
 |
| Albedo |
 |
| Normal |
 |
| Gloss |
 |
| Render |
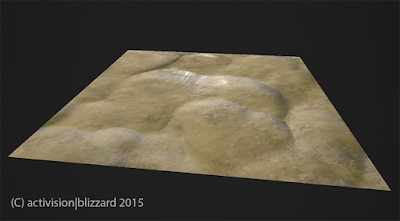
As I said before, I was able to take the brush strokes and lay them into the gloss channel using Substance (can be seen in the gloss below). The first thing I did was bring in the normal map, which was created in ZBrush and then used xNormal to bake it. I have since learned how to bake directly using Substance; it seems to do a better job then xNormal. Besides, removing an application from the pipeline speeds things up. There were some details that I didn't sculpt into the normal so I layered them in using Blend mode and a Substance noise map. I also used that same noise map to pull in more detail into the albedo so that it was consistent. Speaking of albedo, I used the Gradient node and Gradient Editor to pull color information directly from the concept piece. The picker allows me to drag across an image and it "collects" the color information which then I can tweak.
 |
| Substance Output |
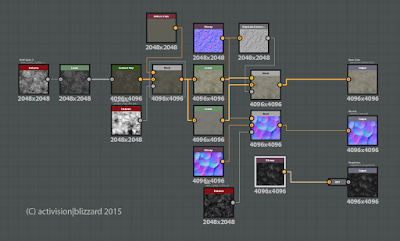 |
| Substance Node System |


